Jupyter
Jupyter is a web-based interactive development environment for Jupyter notebooks. The notebooks are web applications that allows you to create and share documents that contain live code, equations, visualizations and narrative test.
Uses include: data cleaning and transformation, numerical simulation, statistical modeling, data visualization, machine learning and much more.
Jupyter is available from your web browser at https://jupyter.ig.umons.ac.be. It runs on a server with 2 Intel Xeon E5 CPU for a total of 16 cores and 32 GB of RAM. This server is equiped with 4 NVIDIA GTX 980.
Before february 2020, Jupyter was running from Python virtual environments (python3-venv) and was installed from PyPI. These environments are still available from SSH for those who used them.
Since then, it is running from Anaconda for performance and practical reasons.
With Anaconda, users are now able to install missing python packages in their home directory to complement the available environments. It’s also possible to install a different version of Python than the one used to run Jupyter or to use other languages as long as the required kernels are installed.
Login
With an account registered (see Getting Started page), open your web browser and go to https://jupyter.ig.umons.ac.be.
Now, log in with your password :
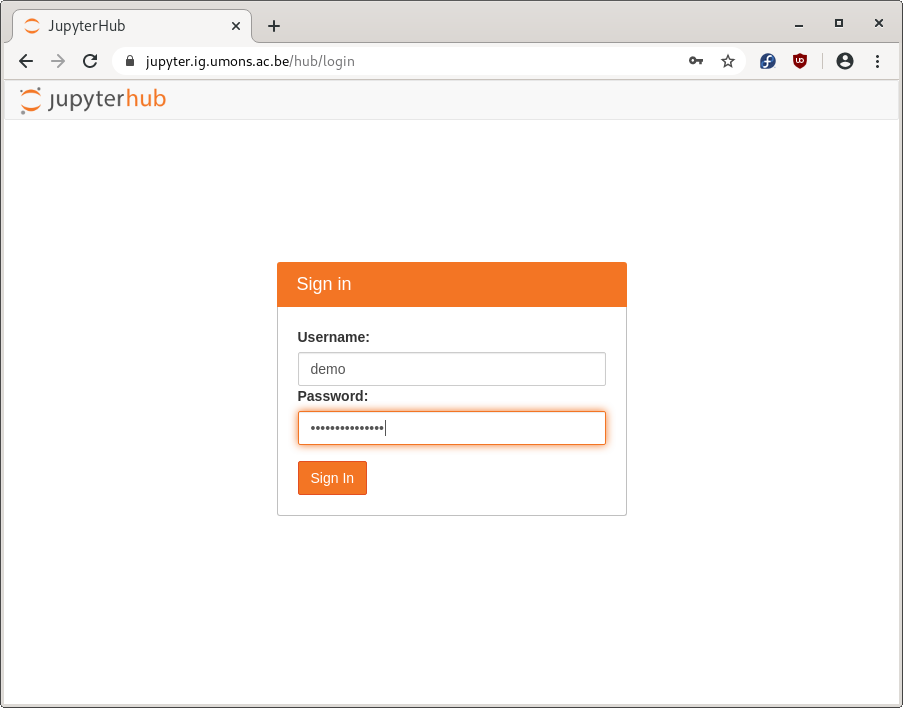
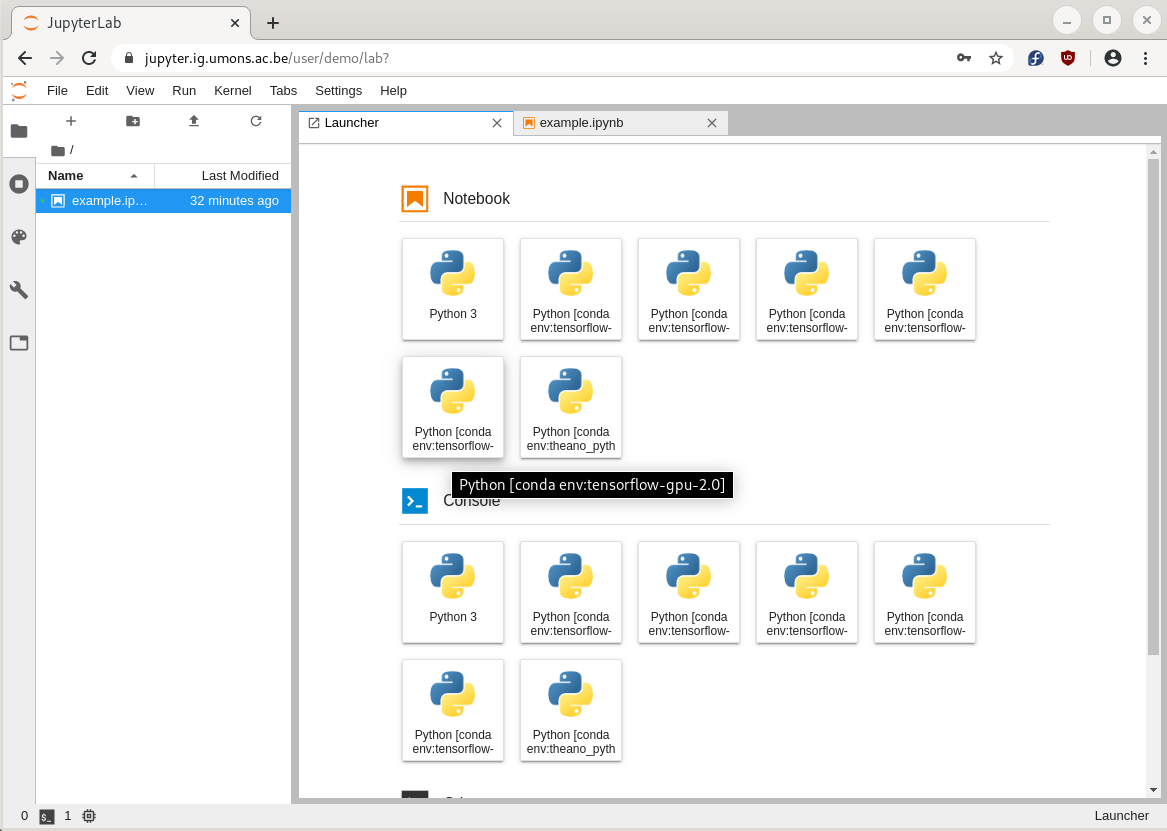
A Jupyter server will be started with your account and you will be greeted with the launcher tab of Jupyterlab.
This tab allows you to start a notebook with the desired environment. These are usually Python environment but can also be other languages as long as the corresponding kernel is installed.
Hover your mouse over the different tiles to display their full name.
In this example, I will choose the tensorflow-gpu-2.0 environment :
The cells of the notebooks can be of differents types :
-
code for writing code or commands
-
markdown for writing explanation in Markdown
-
raw for raw text
You can change the type of each cell from the toolbar of the notebook and apply the change by running the cell with Control + Enter.
You can change a notebook environment by selecting another kernel at the toolbar’s right side.
Running shell commands and executables
Within a cell, you must start your commands with an exclamation mark '!'
For example, the version of Python can be displayed using these commands :
!which python
!python -V
/usr/local/anaconda3/envs/tensorflow-gpu-2.0/bin/python
Python 3.7.6
Magic commands
You can display the list of installed Python packages of the current environment :
%pip listTo display the environment variables :
%envPrint the Working Directory :
%pwdLots of magic commands are available. You can show a quick reference card with
%quickrefTo find out more information about them go to https://ipython.readthedocs.io/en/stable/interactive/magics.html
Installing missing Python packages
If you can’t import a library, it means that it is not installed in the environment. Since you don’t have write permission on its directory, you can’t install packages at the environment level.
However, you can install it inside your home directory :
%pip install --user seabornAnd if one of your packages generate some binaries, they will be added to the $HOME/.local/bin folder. To be able to execute these binaries, it must be added to the PATH variable :
%env PATH=$HOME/.local/bin:$PATH